Creating a Group
Step 1
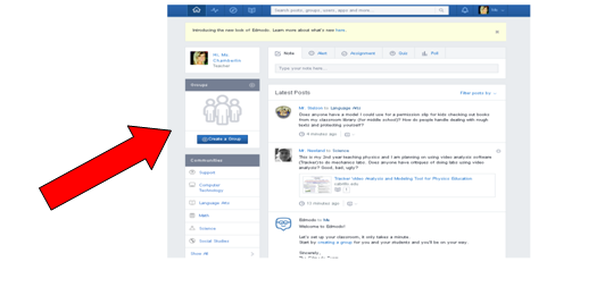
To create a group, make sure you are on your homepage. Click on “Create a Group” located on the left side, underneath your profile picture.
To create a group, make sure you are on your homepage. Click on “Create a Group” located on the left side, underneath your profile picture.
Step 2
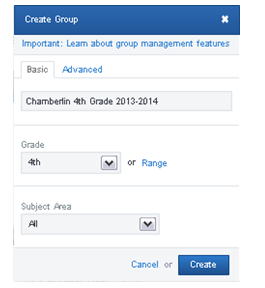
The screen below will pop up. You can click on basic or advanced, however since this is your first group, we will stick with basic. Fill in the appropriate information by giving your group a name, select the grade or range, and subject area. When you are finished, click “Create”.
The screen below will pop up. You can click on basic or advanced, however since this is your first group, we will stick with basic. Fill in the appropriate information by giving your group a name, select the grade or range, and subject area. When you are finished, click “Create”.
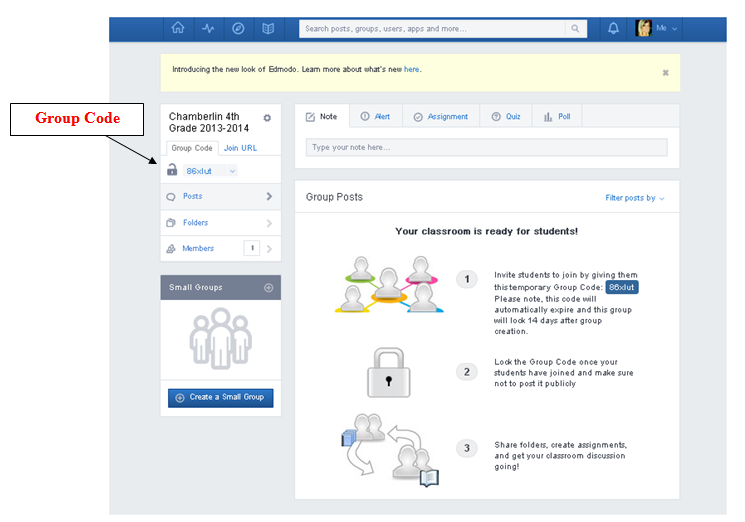
Step 3
After your group is created, your group will have a code. This is the code you will give to students to join your group when they sign up for an account. They will only have to join your group one time, and then they will have a link to enter into the group on their homepage. In your group, you can create posts, announcements, assignments, quizzes, polls, create a class calendar, create small groups, and upload files. Students may also post discussions, communicate with you and classmates, and also upload files of their own.
After your group is created, your group will have a code. This is the code you will give to students to join your group when they sign up for an account. They will only have to join your group one time, and then they will have a link to enter into the group on their homepage. In your group, you can create posts, announcements, assignments, quizzes, polls, create a class calendar, create small groups, and upload files. Students may also post discussions, communicate with you and classmates, and also upload files of their own.